
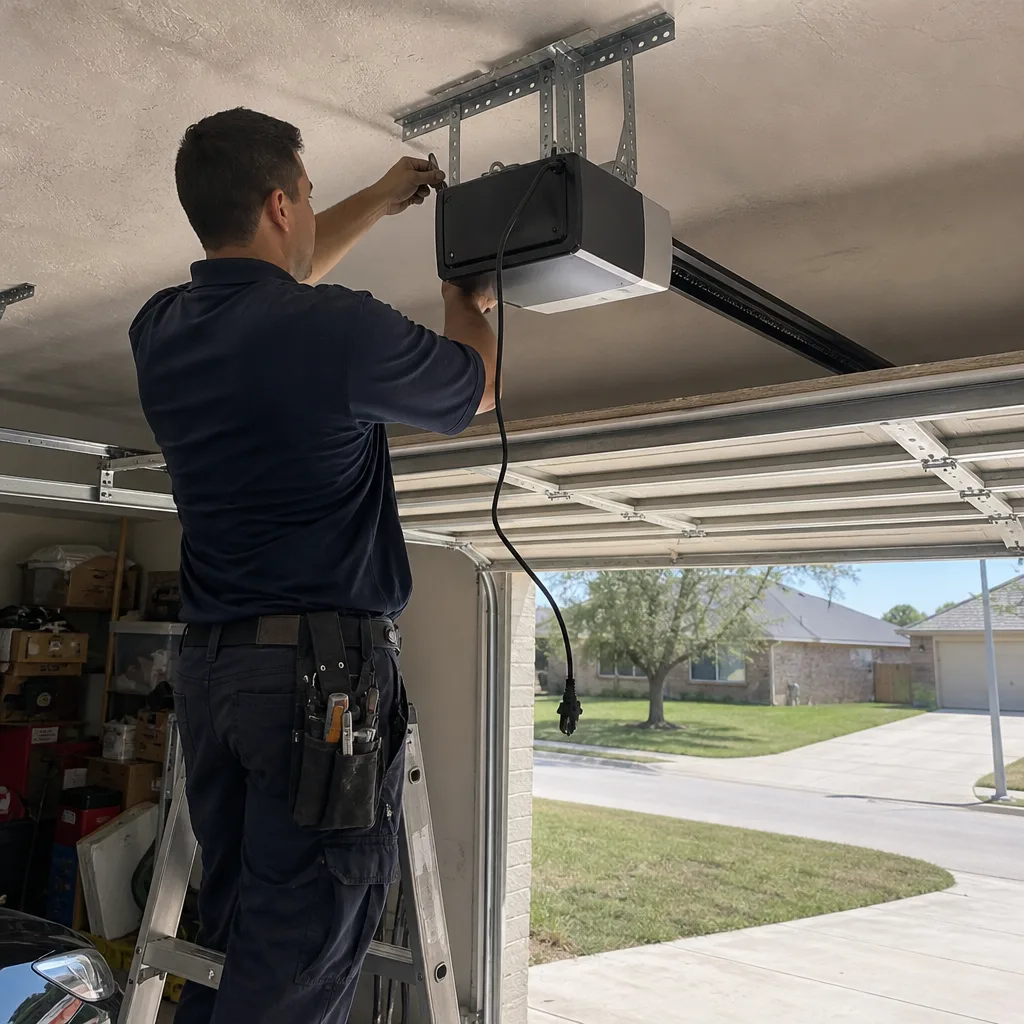
Last updated November 15, 2026
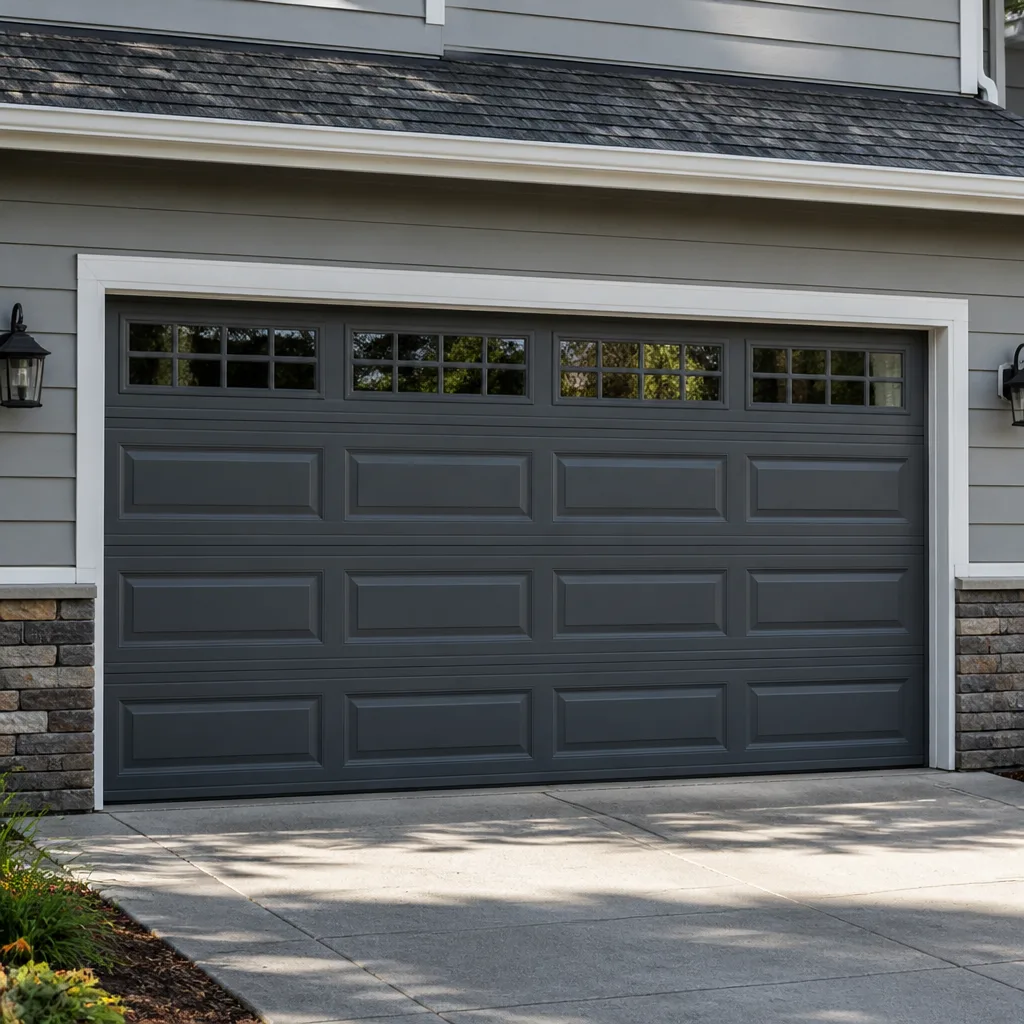 Raised-panel steel
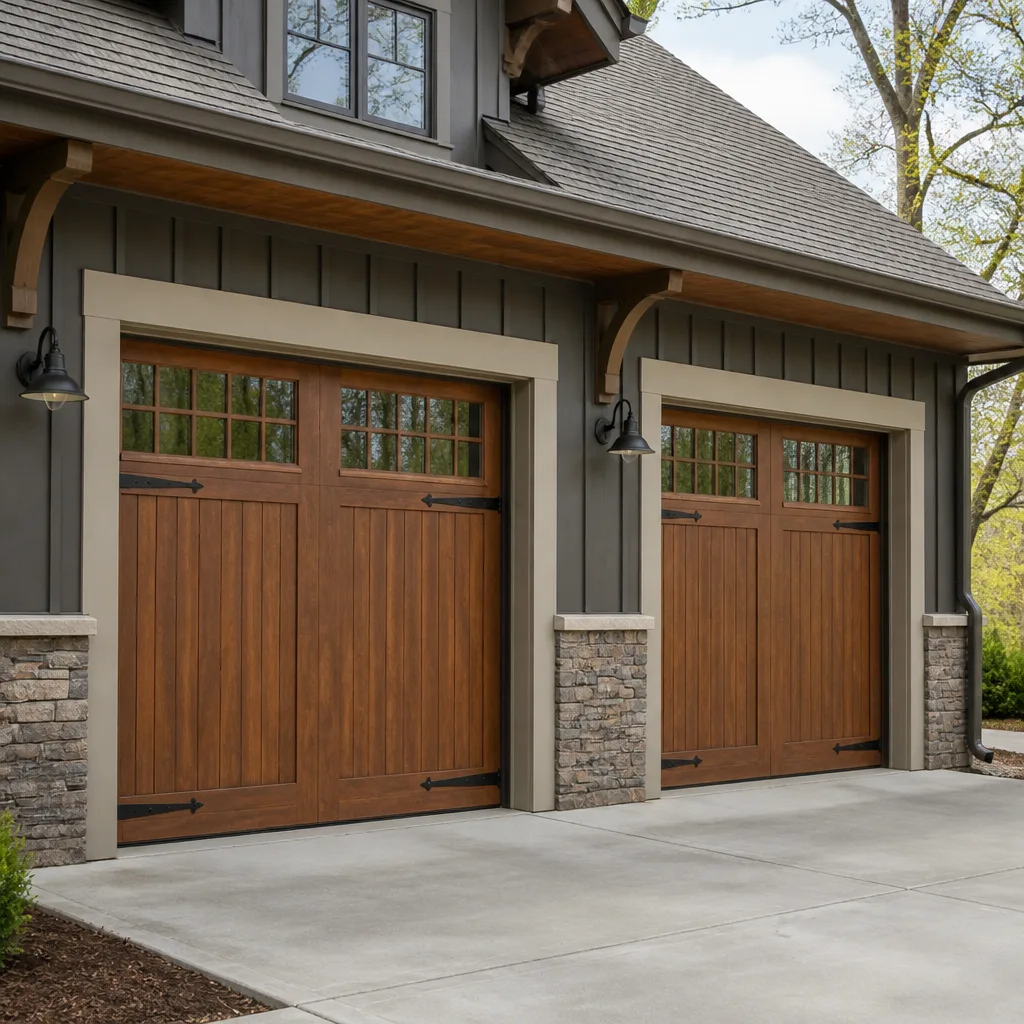 Carriage house
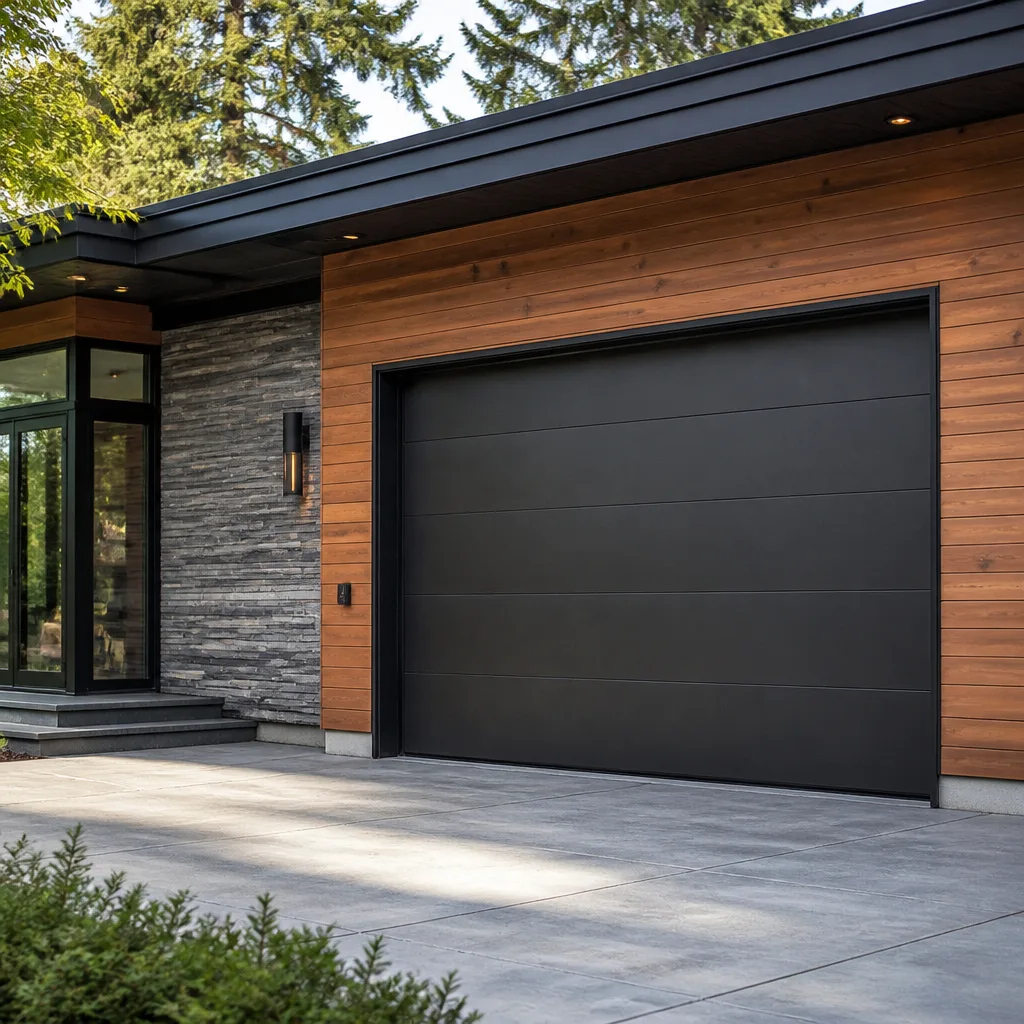 Modern flush
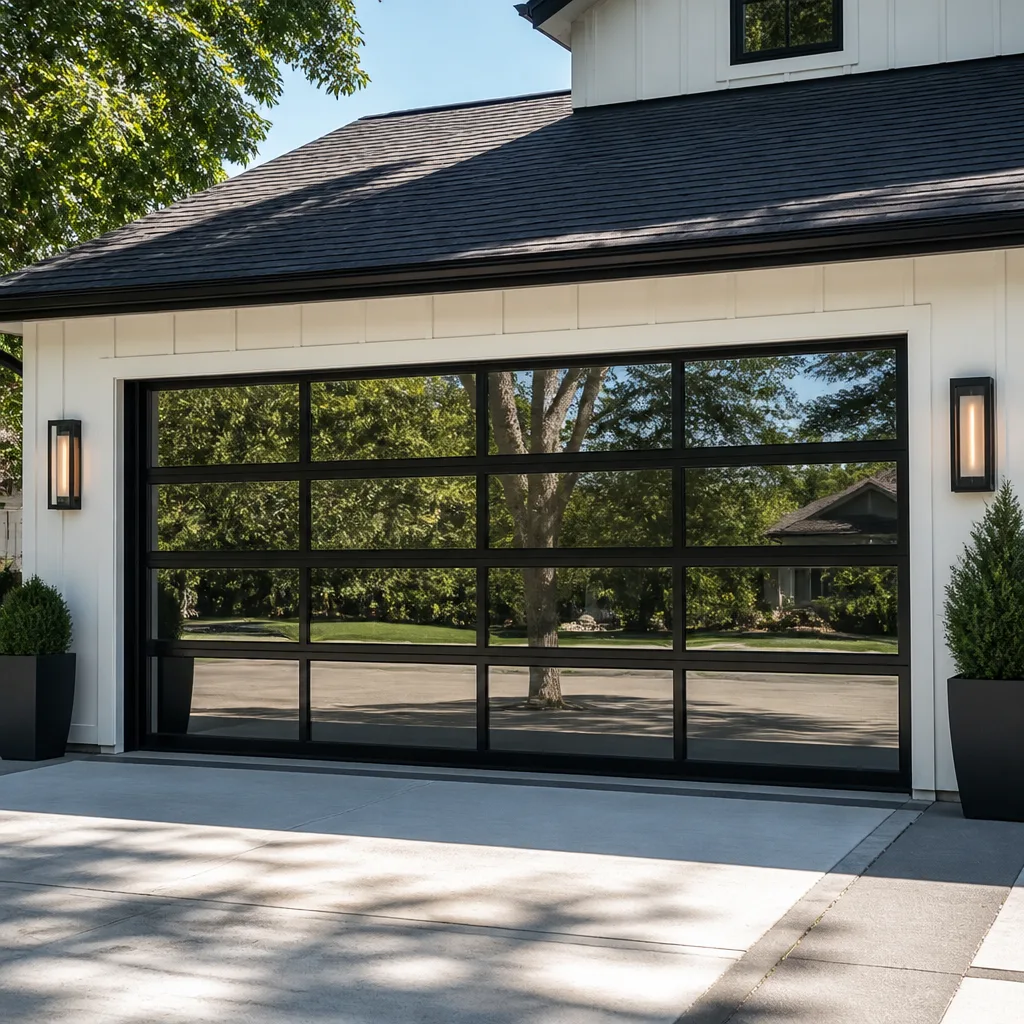 Full-view glass
 LiftMaster openers
 Chamberlain openers
Full 25-point door and opener safety check with every visit - springs, cables, rollers, tracks, and your LiftMaster or Chamberlain opener included
You get a price before we start. It does not change when the pro arrives.
Get your free estimateDIY vs Professional Garage Door: The College Station Homeowner’s Decision Guide
The DIY question with garage doors gets answered wrong because people treat it as one job. It isn’t. Fixing a misaligned safety sensor and replacing a torsion spring are about as different as changing a lightbulb and rewiring a circuit panel. A torsion spring stores enough energy to break bones or worse when it lets go unexpectedly, and that’s not a legal disclaimer attached to the bottom of a page. It’s physics. What looks simple on a screen looks simple because the camera doesn’t show you the winding tools, the rod-holding technique, or how quickly a drum can spin when tension releases. This guide sorts garage door work into what a careful homeowner can do and what should stay with a trained technician, with real cost comparisons for College Station homeowners so the decision is based on numbers, not nerves.
Quick Answer
About two-thirds of common garage door problems are safe for a handy homeowner: sensor alignment, weatherstripping, lubrication, remote pairing, and visual inspections. Spring replacement, cable work, and track realignment after a bend should always go to a professional, and the cost difference between DIY and professional for those three jobs is smaller than most people expect once you price the correct tools and parts. In College Station, the summer heat adds a complication that most DIY guides skip, which is why lubricant choice and hardware tension matter more here than in cooler climates.
Styles & brands we work with
- Raised-panel steel
- Carriage house
- Modern flush
- Full-view glass
- LiftMaster openers
- Chamberlain openers
Table of Contents
- The Task Breakdown: What’s Safe to DIY and What Isn’t
- Why Springs Are a Different Risk Category Entirely
- Cost Comparison: DIY vs Professional for the Five Most Common Repairs
- College Station Climate and the DIY Mistakes That Follow It
- Using DIY Diagnostics to Get a Faster, More Accurate Service Call
- The Tools You’d Need (and What They Actually Cost)
- Safe DIY Step-by-Step: Sensor Alignment and Lubrication
- When to Stop and Call a Technician
The Task Breakdown: What’s Safe to DIY and What Isn’t
Here’s the sorting rule we use in our own heads when a homeowner describes a problem over the phone: if the task involves stored mechanical energy or carries a structural load, it belongs with a technician. If the task involves cleaning, lubricating, adjusting a non-loaded component, or replacing a soft wear part, a careful homeowner with basic tools can do it. That line is clear once you know what’s on each side of it.
Genuinely DIY-appropriate
- Weatherstripping replacement around the door perimeter and along the bottom. It’s a friction-fit or nail-on job with no loaded components. Cut to length, seat it, done.
- Safety sensor alignment. The two photo-eye sensors mounted near the floor should see each other across the opening. In most cases a bracket gets bumped and the beam misses. Straightening the bracket and confirming the indicator light is on takes a few minutes.
- Lubrication of hinges, rollers, and the opener rail (never the tracks themselves). This is routine maintenance, and doing it yourself saves a service call.
- Remote and keypad programming. Every opener brand has a pairing procedure in the manual. Genie and LiftMaster systems in particular use a learn button on the motor head that most homeowners can reach without a ladder if the door is under eight feet.
- Visual inspection of cables, springs, tracks, and rollers. Looking for wear costs nothing and catches problems before they become failures.
- Bracket tightening on the door panels themselves, provided the bracket isn’t connected to a spring or cable anchor point. Bolts loosening from vibration is normal over time.
Requires a professional
- Torsion spring replacement (the horizontal spring above the door) and extension spring replacement (the springs running alongside the tracks on older doors). Both store dangerous energy.
- Cable replacement or re-spooling. Cables hold the door’s weight under tension. A cable under load can whip when it releases.
- Track realignment after impact or significant bending. Tracks look simple but the door relies on them staying plumb through the full travel arc.
- Roller replacement on high-stress doors when the door is heavy or the brackets are seized. Many rollers are easy; seized roller brackets on a 200-pound door are not.
- Panel replacement on insulated doors like a Clopay or Amarr model where the panel interfaces with the stiles and hinges. Getting the tolerance wrong causes binding.
- Opener replacement or logic board work. The motor head is electrical equipment, and diagnosing a failed logic board requires test equipment most homeowners don’t own.
We’re Bluestone Garage Door Repair, and we specialize in residential garage doors in College Station. We get called often by homeowners who started a repair intent on DIY and stopped, and that’s a good outcome. Better to stop than to force it.
Why Springs Are a Different Risk Category Entirely
A torsion spring is a tightly coiled steel bar under hundreds of pounds of rotational tension. It works by storing energy as it’s wound, then releasing that energy slowly and predictably as the door travels down and back up. When it breaks or when someone unwinds it without the right technique, that stored energy releases in a fraction of a second. The spring itself doesn’t fly across the garage. What happens is the drum spins fast and the cable wrapped around it releases, and the door comes down hard, or the winding bar kicks out of the cone with force that easily breaks a wrist or a jaw. That’s the mechanical reality, and it’s why this task sits in a category by itself.
The tools matter too, and they’re not tools most homeowners own. Torsion springs require winding bars sized to the cone holes, and using a screwdriver or a length of rebar as a substitute is how a lot of injuries happen. The two-bar technique, where one bar stays in the cone while the other is repositioned, is safe only when the bars fit the cone holes and the bar length gives you enough leverage and clearance. Extension springs on older doors need a different procedure and a safety cable already in place. If a spring has been replaced before without adding the safety cable, that job has to include adding one.
We treat spring work as a two-technician job when the door is heavy or the spring is above eight feet. It’s not because the spring is bigger than usual. It’s because having someone else hold the door and watch the drum while the other person works eliminates the most common failure mode, which is unexpected movement while the technician is focused on the wind.
Cost Comparison: DIY vs Professional for the Five Most Common Repairs
Cost is where people assume DIY wins by a wide margin, and for a couple of these jobs it does. For others it doesn’t once you buy the right parts. Here’s the honest breakdown for College Station.
| Repair | Parts-Only DIY | Professional (parts + labor, typical) | Realistic savings |
|---|---|---|---|
| Weatherstripping | $25 – $60 | $120 – $200 | $60 – $140 |
| Sensor alignment | $0 | $100 – $175 | $100 – $175 |
| Torsion spring (one spring) | $50 – $90 | $180 – $340 | Negative after winding bars |
| Cable replacement | $35 – $80 | $150 – $290 | Negative after tooling |
| Track realignment | $0 for the alignment, parts extra | $140 – $280 | Depends on the bend |
Two things to notice in that table. First, the DIY savings for weatherstripping and sensors are real and worth capturing. Second, for spring and cable work, the parts cost looks small but the winding bars for torsion springs cost more than the spring itself, and after that you own tools you’ll likely never use again. Spring prices in that table are for one spring, by the way. Springs are matched pairs in most cases, and a matched pair is usually replaced together, so a pair costs about twice the figure shown.
The price we quote professionally is set by a written estimate before work starts. No number changes after the technician is in the garage. If you want to know what your specific door looks like on paper before deciding, garage door repair starts with a free estimate, and the written quote you receive from us is the number you pay.
College Station Climate and the DIY Mistakes That Follow It
College Station summers are hot enough that garage doors work under conditions a lot of the generic DIY advice on the internet wasn’t written for. The attic above the garage gets brutally warm, and the garage itself can sit well above outdoor temperatures if the door faces west. This matters in three specific ways for anyone considering DIY work.
Wrong lubricant in the heat
White lithium grease and generic WD-40 are the two lubricants homeowners reach for, and neither is what a garage door wants in this climate. Lithium grease thickens in the heat and collects dust, then turns into a grinding paste inside the hinges. A silicone-based spray or a purpose-made garage door lubricant stays fluid at higher temperatures and doesn’t attract dust. Tracks themselves should be wiped clean, not lubricated at all, because grease in a track collects grit that kills rollers.
Overtightening hardware during thermal expansion
Metal panels expand in the heat, and bolts that were torqued correctly in winter can feel loose in the middle of the day. The DIY instinct is to crank them down harder. That’s exactly wrong. Overtightening compresses the panel and can crack hinge plates or, on insulated panels from Clopay and Amarr, distort the stile. If a bracket seems loose, tighten to spec and leave it. If a bolt keeps backing out, a technician should look at it because it usually signals a misalignment that’s working the hardware loose.
Misreading cable tension
Cables should have some slack when the door is fully closed. Homeowners often see slack and assume something is wrong, then adjust the drum position to take up the slack. That’s a mechanical failure waiting to happen. The correct reading depends on where the door is in its travel, and cable adjustment is one of those tasks that should never happen without a trained eye on the door’s balance. If cables look wrong, don’t adjust them. Have them inspected. In our experience across College Station neighborhoods, a cable that looks loose is often correct, and one that looks tight is often the problem.
Using DIY Diagnostics to Get a Faster, More Accurate Service Call
The highest-value DIY a homeowner can do is diagnose the problem before calling. A well-documented problem gets diagnosed faster and costs less, because the technician walks in with the right part on hand and the right expectation. Here’s how to gather what’s useful.
- Note the door’s behavior at the failure point. Does the door stop at the halfway point, only on the way down, only on the way up, or both? Each pattern points at a different system. Stopping on the way down usually means a safety sensor or a force limit. Stopping on the way up usually means spring tension or a binding track.
- Listen for the sound. A single sharp snap followed by the door being unusually heavy usually means a broken spring. A grinding or scraping sound usually means a roller or hinge problem. A hum from the opener with no movement means the motor is running but the door isn’t, which often means a stripped gear or a pulled emergency release.
- Check the safety sensor indicator lights. Both sensors should have a solid light when the door is open and nothing is in the way. If one is blinking, that’s the problem.
- Try the wall switch and the remote separately. If the wall switch works but the remote doesn’t, the problem is the remote or the receiver, not the door. If neither works, it’s the opener or the power.
- Pull the emergency release and try to lift the door manually. A door that’s too heavy to lift with one hand has a spring problem. A door that lifts but scrapes has a track or roller problem. A door that lifts smoothly and drops when released has a balance problem.
- Video the failure. A 15-second phone video showing the failure from start to finish is more useful than any description.
Our technicians have up to 11 years of experience, and the single biggest time-saver on a service call is a homeowner who can say “the door hums but doesn’t move, and it started after the power flickered.” That sentence narrows the diagnosis to opener logic or capacitor and skips the guessing.
The Tools You’d Need (and What They Actually Cost)
It’s worth pricing the tooling before committing to a DIY plan. Some jobs need tools you already own. Others need tools you’ll buy, use once, and store forever. Here’s what each task realistically requires.
- Weatherstripping: a utility knife, a tape measure, and a hammer or a drill. Most homeowners own all three.
- Sensor alignment: your hands. No tools required in most cases.
- Lubrication: a silicone-based spray lubricant, around $8 – $15.
- Torsion spring: two winding bars (around $25 – $50 for a pair), a properly sized wrench set, and a ladder rated for the height of the spring. Plus a locking plier for the door.
- Cable work: cable cutters, vice grips, and a proper spooling technique that most homeowners don’t have. Even with the tools, the technique matters.
- Roller replacement: a socket wrench and a pair of locking pliers. Doable even on heavier doors, provided the door is closed and safe to work on.
- Track realignment: a rubber mallet, a level, and the confidence to know when a track isn’t just bent but out of plumb. The last item is the one that’s hard to buy.
If the tool list for a task is longer than the list of things you already own, run the numbers on professional service. For a torsion spring, the DIY math usually loses once you’ve bought winding bars. We stock the correct bars and have the procedure down to a routine. That’s where professional service earns its cost.
Safe DIY Step-by-Step: Sensor Alignment and Lubrication
These two jobs are the highest-value DIY repairs for most homeowners. Both are safe as long as you keep the door closed while you work and don’t touch any loaded hardware. Here’s exactly how to do them.
Sensor alignment
- With the door fully closed, check the two sensor units mounted near the floor on either side of the opening. Each has an indicator light.
- If one light is off or blinking, look for physical obstruction first. A leaf, a cobweb, or a piece of debris across the lens is the most common cause.
- Wipe both lenses with a dry cloth and re-check the lights.
- If the light is still off, loosen the mounting bracket on the sensor with the blinking light by hand or with a screwdriver.
- Adjust the angle slowly while watching the indicator. When the light goes solid, tighten the bracket. Don’t overtighten, because the plastic bracket cracks easily.
- Test by pressing the wall switch. If the door runs down and stops before touching the floor and reverses, that’s normal sensor behavior. If it stops too high, check that nothing’s in the beam’s path.
Lubrication
- Close the door fully and unplug the opener for safety.
- Spray a silicone-based lubricant at each hinge pivot point. Around eight hinges on a single-car door, sixteen on a double.
- Spray the roller stems (not the wheels themselves) where they meet the hinges.
- Spray the opener rail if your opener has a chain or belt drive. Never spray the tracks.
- Wipe the tracks clean with a dry cloth. Keep them dry and free of grease.
- Reconnect the opener, run the door up and down a few times to distribute the lubricant, and listen for smoother travel.
Common Mistakes to Avoid
- Unwinding or rewinding a torsion spring yourself. Even homeowners with mechanical experience get hurt because the correct technique involves coordination that only comes with practice. This is the one task where the phrase “don’t try this at home” is literal.
- Using WD-40 as garage door lubricant. It’s a solvent, not a lubricant, and it strips the protective oil off the rollers and hinges. It also attracts dust in dry College Station summers faster than silicone does.
- Adjusting the opener’s force limit to fix a heavier-feeling door. If the door suddenly feels heavy, there’s a spring or balance problem. Raising the force limit makes the opener work harder and wears the gear out faster instead of fixing it.
- Straightening a bent track with a hammer. Tracks look simple. They aren’t. A bend that looks cosmetic to the eye is often a plumb problem that binds the door on every cycle.
- Pulling the emergency release and letting the door drop. The emergency release is for power failures, and releasing it on a door with a broken spring drops several hundred pounds of door to the floor. Always hold the door before releasing.
- Using replacement parts from a different brand. Springs, cables, and rollers aren’t universal. A Wayne Dalton door uses different hardware than a Clopay of the same size and weight, and a mismatched part binds or fails early.
- Overtightening bolts in the heat. Hardware tightened in cooler weather expands in summer and can crack panels or stiles. Torque to spec and leave it.
See the difference
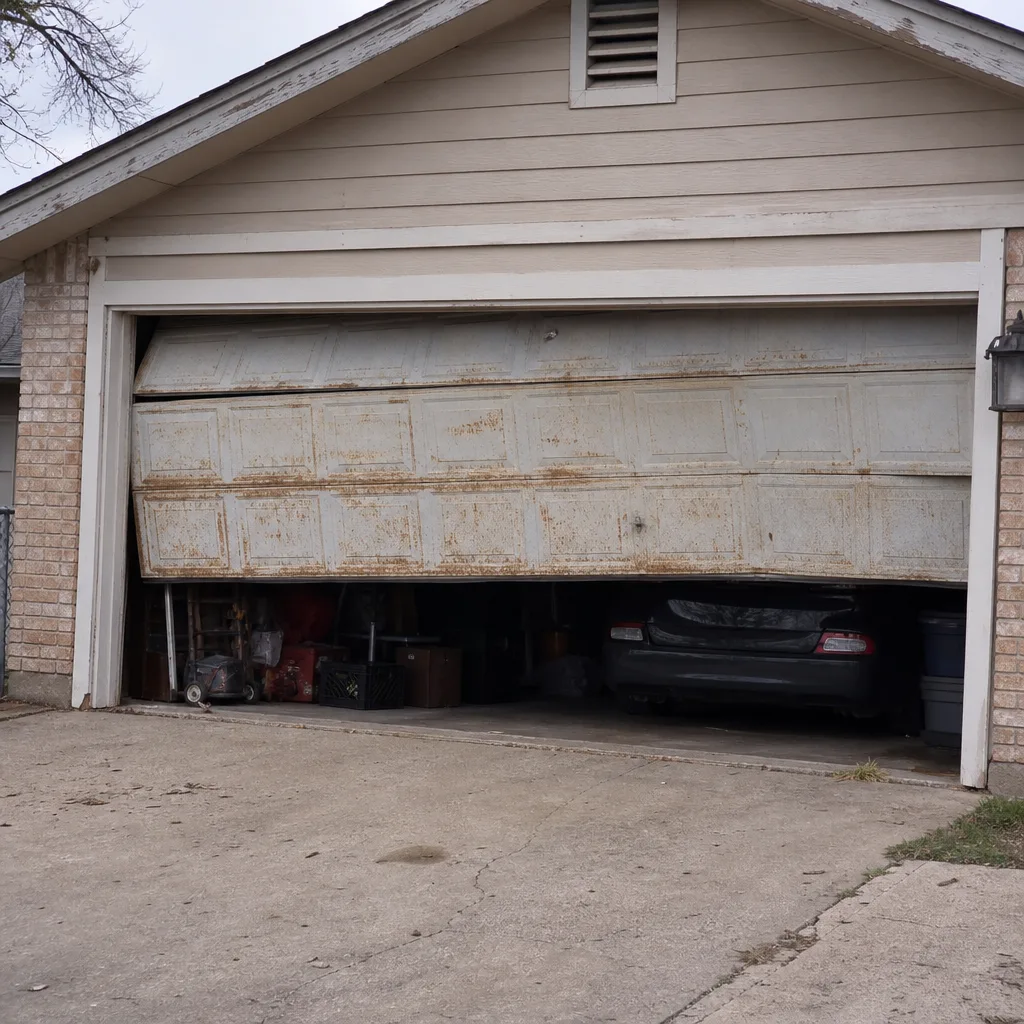 Before
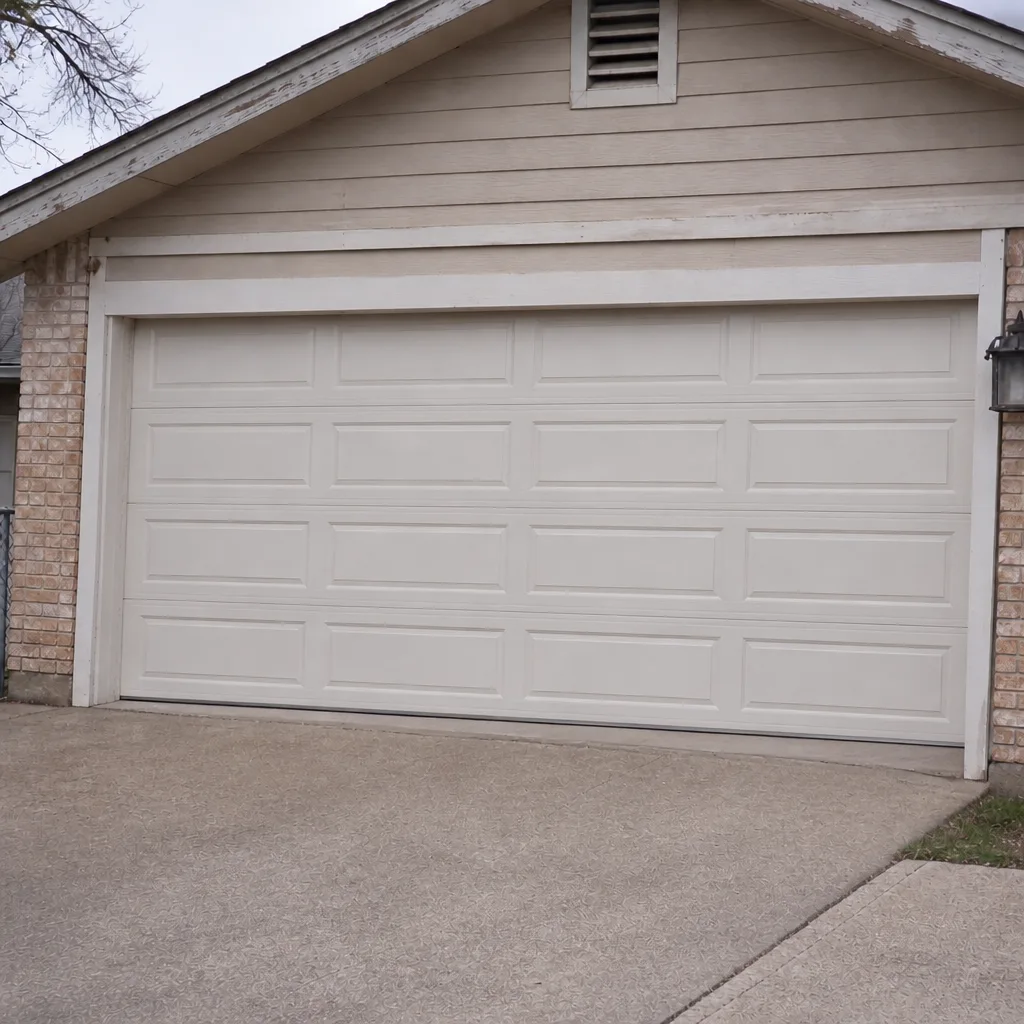 After
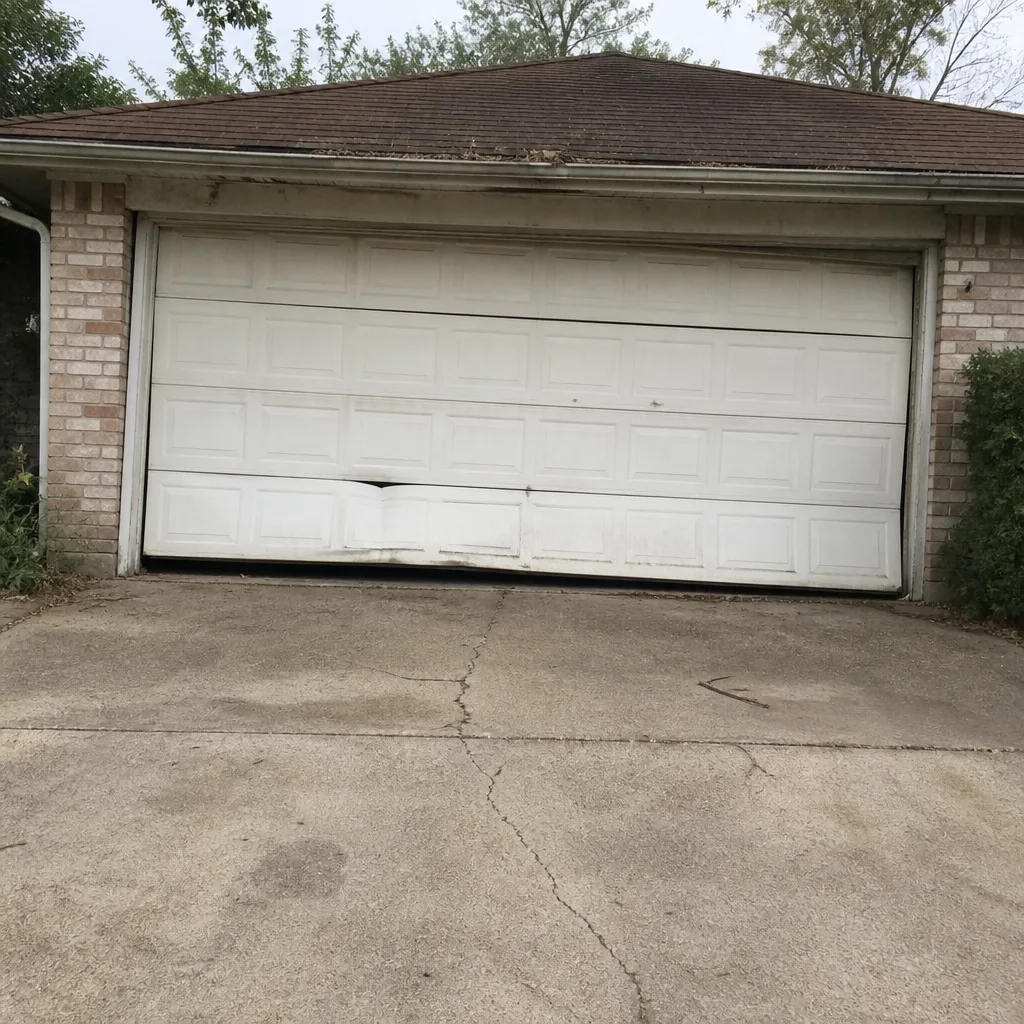 Before
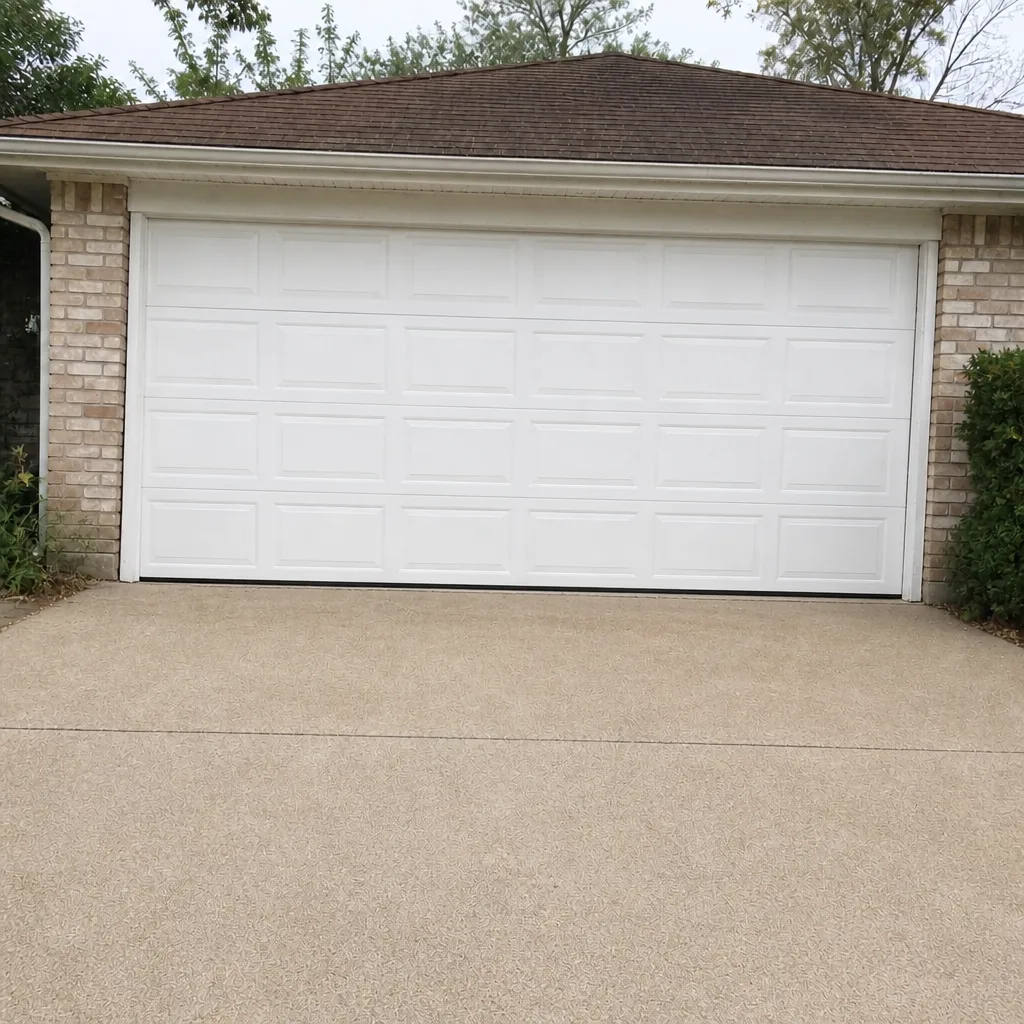 After
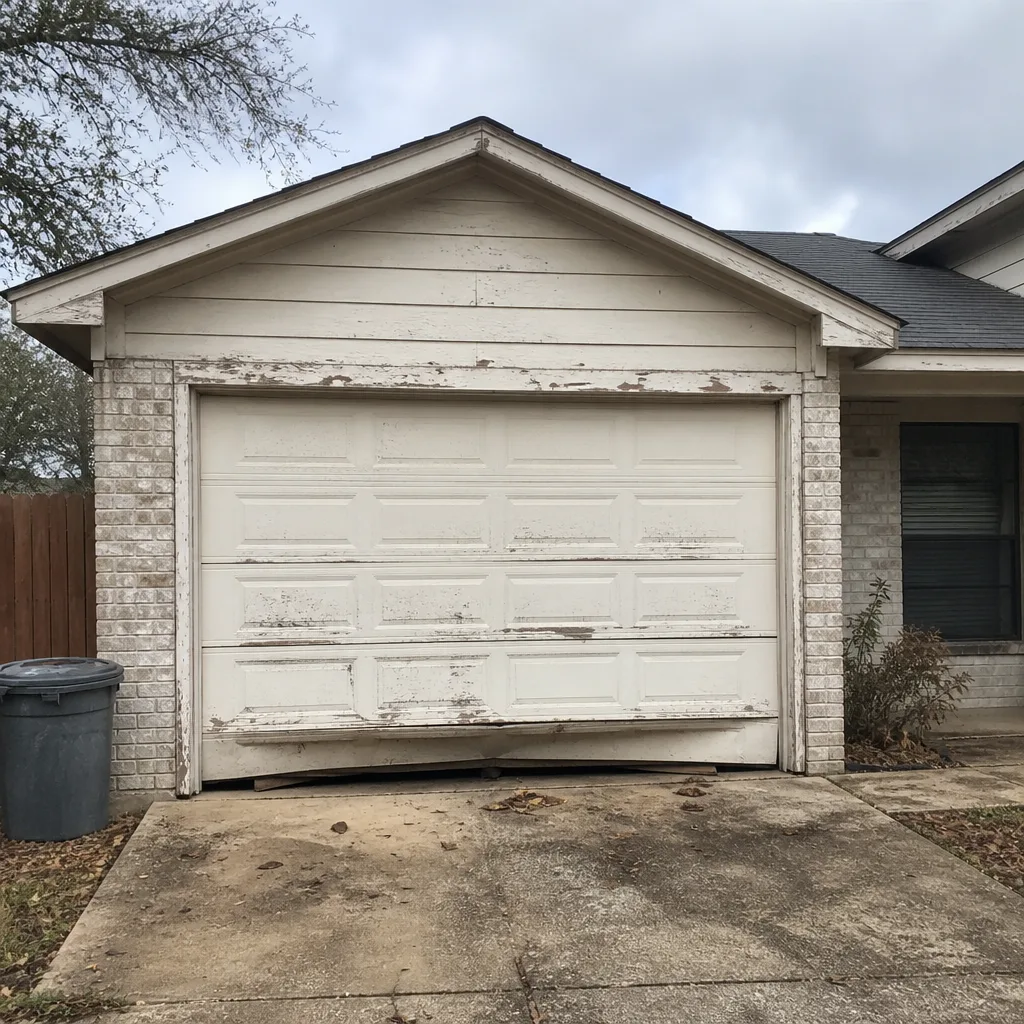 Before
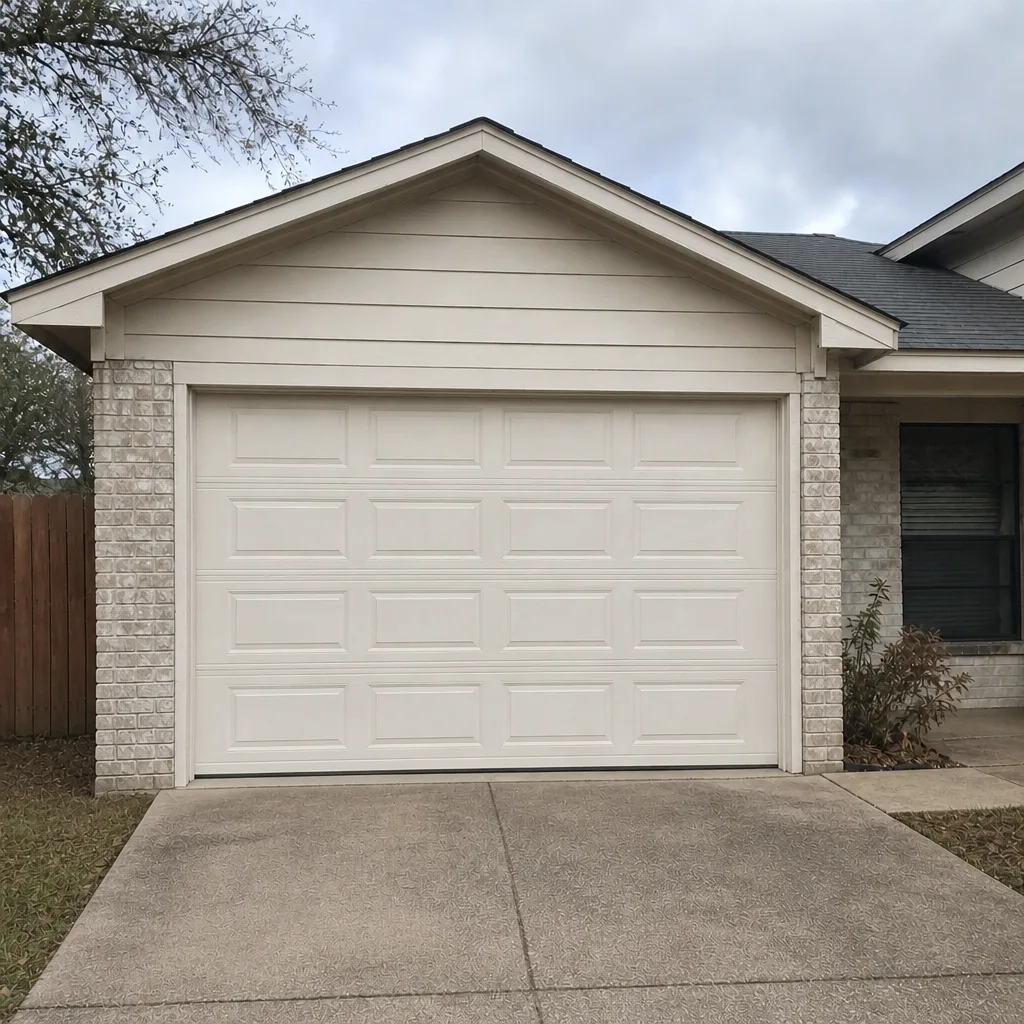 After
When to Call a Professional
Call us when the task involves springs, cables, or a bent track. Call when the door has suddenly become heavy, when a snap or bang has just happened and the door won’t stay up, or when the opener hums without moving the door. Call when the door is off its horizontal path (one side higher than the other when closed), when a panel has separated from the frame, or when a roller bracket has pulled out of the panel. And call when you’ve tried the safe DIY fixes and the problem persists; that’s usually a signal that something more serious is happening. Bluestone Garage Door Repair offers free estimates in College Station. Call (888) 874-4281. We answer 24/7. Fast dispatch from 7am to 7pm, Sunday through Friday.
Frequently Asked Questions
No. Torsion springs store hundreds of pounds of rotational energy, and the release when one breaks or unwinds incorrectly can cause serious injury. Even experienced DIYers get hurt because the danger is in the technique, not just the difficulty. Call a trained technician for spring work. Call (888) 874-4281 for a free estimate.
A single torsion spring replacement in College Station typically runs $180 to $340 including parts and installation, and a matched pair usually costs about twice that because the two springs are replaced together. The estimate is written before work starts, so the number you receive is the number you pay. Call (888) 874-4281 for a free quote on your specific door.
Usually, yes. Sensor misalignment is the single most common garage door problem, and the fix is almost always straightening a bumped bracket or wiping a lens. If the indicator light stays off after adjustment, or the problem returns the same day, that’s when to have a technician look at the wiring. Call (888) 874-4281 if it persists.
For weatherstripping, sensor alignment, lubrication, and remote programming, yes, with real savings of $60 to $175 per job. For springs, cables, and track work, no, because the correct tools cost more than the parts and the risk is high. Run the tool math before committing. Call (888) 874-4281 for a free estimate to compare.
A broken spring usually announces itself with a loud snap followed by the door no longer lifting by hand. A spring that still works but needs adjustment usually shows a door that’s slightly heavier than normal or opens unevenly. If you can’t lift the door with one hand from the center, treat it as a spring problem and call a professional. Call (888) 874-4281 to schedule a diagnostic.
Most reputable technicians in College Station service the major brands including Clopay, Amarr, Wayne Dalton, and Genie, and a good technician can work on the opener and the door as one system rather than handing you off to a second company. We are factory-familiar with LiftMaster, Chamberlain, Genie, Clopay, Amarr, Wayne Dalton, Craftsman, and Raynor, so whether your door is a recent install or a legacy system, one call covers it. Call (888) 874-4281 to book.
The Bottom Line
Some jobs belong in your hands, and some don’t. Weatherstripping, sensor alignment, lubrication, remote programming, and visual inspection are worth doing yourself, and they save real money. Springs, cables, and track work are worth paying for, because the tools cost more than the parts and the risk of injury isn’t worth the savings. The right question isn’t whether you’re capable of DIY; it’s whether this specific task is the right fit. Once you’ve sorted the problem into the right category, everything else falls into place. If the task is on the professional side, garage door repair in College Station starts with a free written estimate, and the number you agree to before work starts is the number you pay.
We’re a full-service garage door specialist, not a general handyman service, and we handle repair, garage door opener repair, and new installation in-house. Whether your door needs a spring, a sensor, or a logic board, one call covers it. If you’re in a College Station neighborhood and want to skip the diagnosis guessing, we’re the team that will show up knowing your brand. Our technicians have up to 11 years of experience and we work on all eight major brands.
Call (888) 874-4281. We answer 24/7. Fast dispatch from 7am to 7pm, Sunday through Friday. Estimates are free, the price is quoted before any work starts, and the written estimate sets the final number. Bluestone Garage Door Repair is ready to help you decide, or to handle the repair once you’ve decided it’s not a DIY job.
Written by the team at Bluestone Garage Door Repair.